This article covers integrating Graphly’s Web Tracker and Unbounce.
Log into Unbounce and Edit a Page
The first step is to click on the page you wish to integrate.

From there you’ll need to click the “edit” button on the variant you want to integrate.

Install Graphly’s Web Tracking Script
At the bottom of the screen click “Javascripts“.
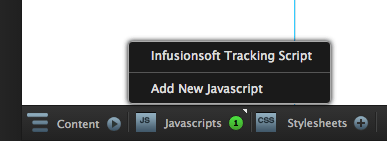
If you have already integrated Infusionsoft, Unbounce will already have the Infusionsoft tracking script. We want to add a new Javascript, so click on “Add New Javascript“.
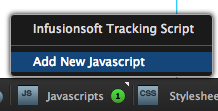
Here, give the script a name and change its placement to head.

Then paste the Graphly tracking script into the code box.
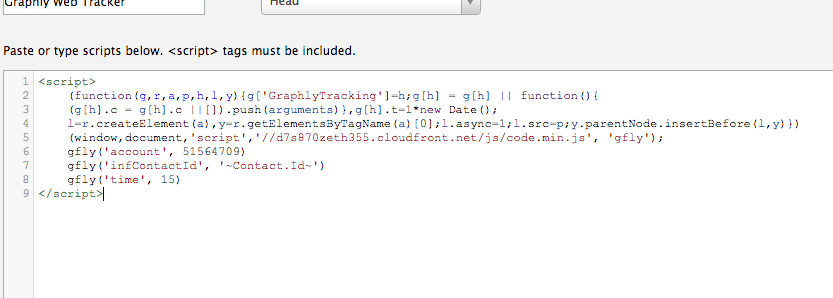
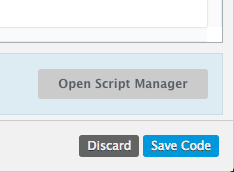
Now click Save Code at the bottom.
Now we need to edit out form. Click on an “input field” to bring up the form properties on the right hand side.

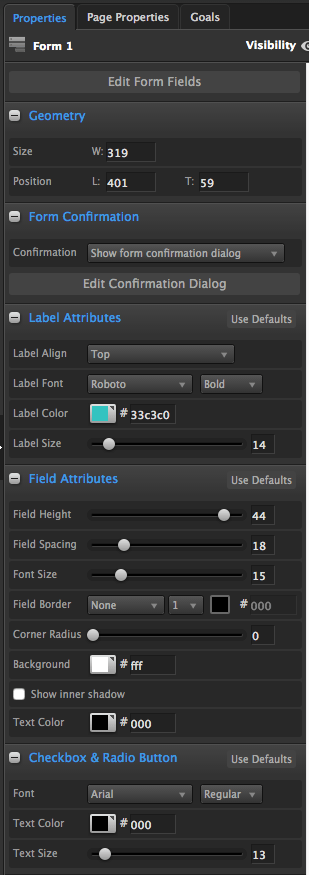
By default, Unbounce forms show a Confirmation Dialog. To see what that looks like, you can click “Edit Confirmation Dialog“.
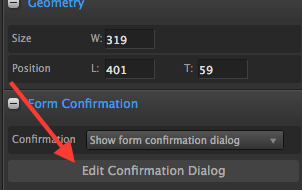
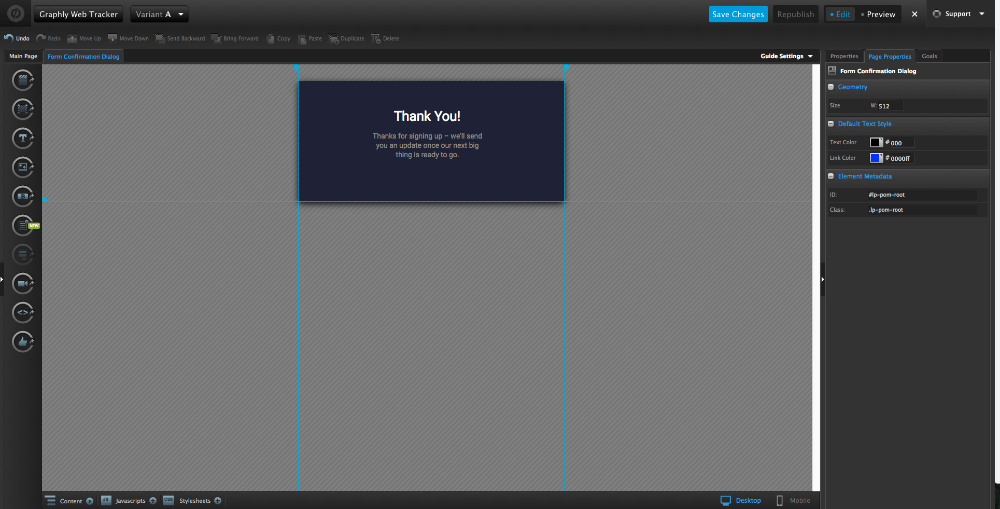
The problem with this approach is that the page URL stays the same, and the email address is not passed to the script. What we want to do is change the dropdown from Show form confirmation dialog to Go to URL.
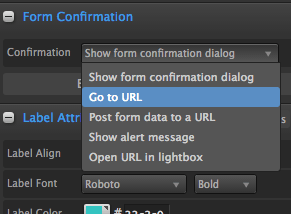
Then put your URL in the URL box. Make sure that the page you paste in has the Graphly script embedded in the head of the page.
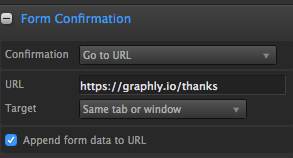
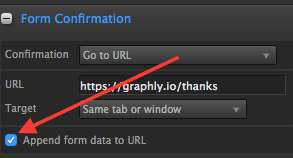
Make sure to also check the Append form data to URL box.
Save and Publish
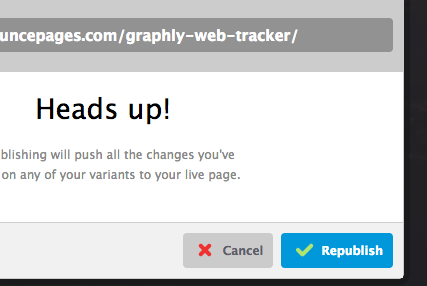
Click “Save Changes” at the top and then click “Republish“.
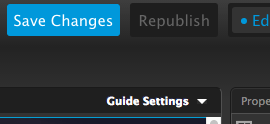
Click “Republish” again and you’re done.
