In this article we’ll be covering how you can integrate Graphly’s Web Tracker with Thrive Leads.
Set Up On the Thrive Leads Side for Graphly’s Web Tracker and Infusionsoft Integration
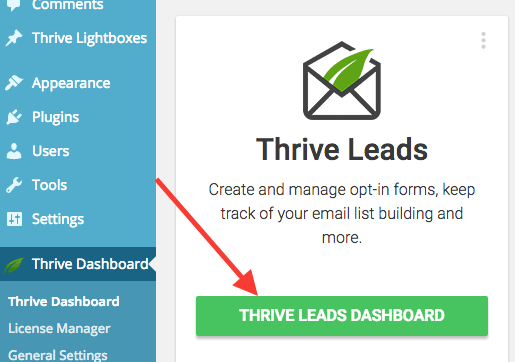
To get started, navigate to your “Thrive Leads Dashboard” which can be found as shown below in Wordpress. Make sure that you’re also logged into Infusionsoft and in a campaign of your choosing, as we’ll be doing a bit of setup there later.
Thrive Leads integrates with Infusionsoft both through the API as well as the form HTML. However, if we want to pull in the correct source and other UTM values, we need to use the HTML form code option.
The next step is to navigate to a form inside Thrive Leads to edit it. You can do this by clicking the edit button on the form of your choosing.

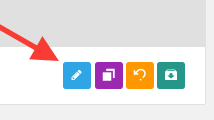
Then click the “edit” button again. It will be blue and have a pencil icon as shown below.
Click on the “submit” button and choose “Connect with Service“.

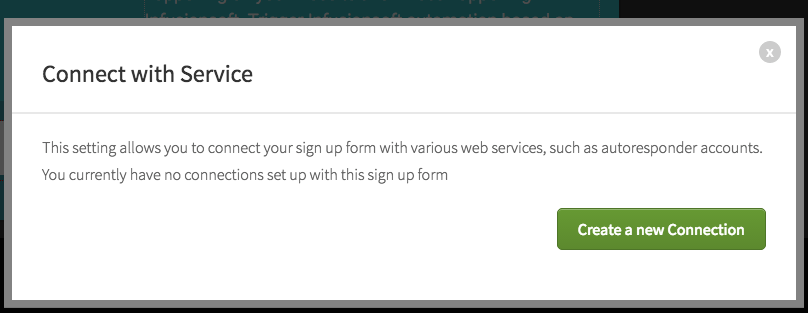
As you can see, this form is connected with Infusionsoft, but it is connected via the API. Click the “x” here to get rid of the connection so we can setup the HTML connection.

Then click on “Create a new Connection“.
Choose “HTML Form code” from the dropdown menu and then click “Go to the next step“.

You should see a place to insert your HTML code into at this point. Leave this page open, because we’ll be coming back here after we do some setup inside e.

Set Up On the Infusionsoft Side for Graphly’s Web Tracker with Thrive Leads
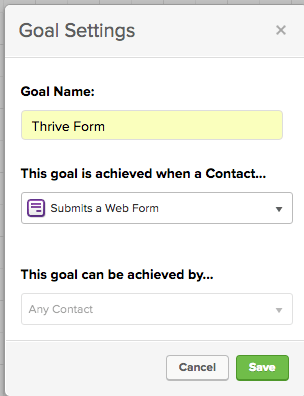
This is where we will switch over to Infusionsoft. In the campaign builder, drag a goal onto the canvas. Name it and click “Save“.
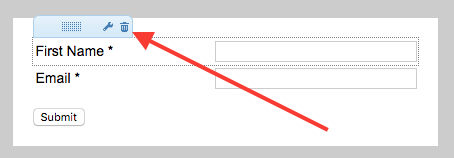
Double click on the “form icon” to edit it. Delete the First Name field by clicking on the “trashcan“.
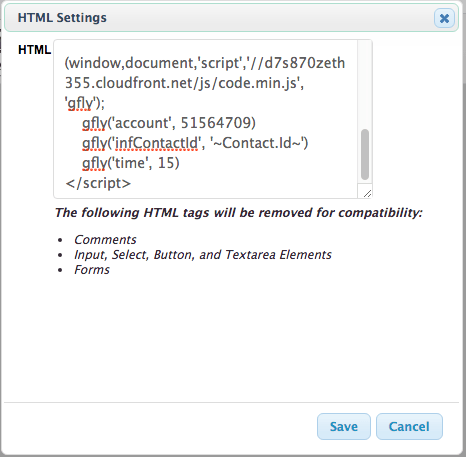
Then click on the “Snippets” tab and drag an HTML snippet onto the top of the Thank-you page. Paste the Graphly tracking script in the box and click “Save“.
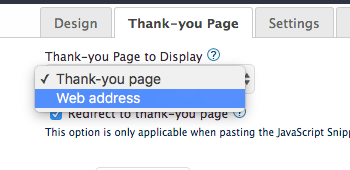
Now go to the Thank-you Page tab and change the dropdown to “Web Address“.
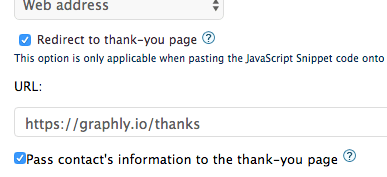
Type your thank-you page URL into the URL box and then check the Pass contact’s information to the thank-you page box.
Switch your form from Draft to Ready and publish the campaign. Then head over to the code tab. Click the bubble for “HTML Code (unstyled)” and copy the code down.

Finishing the Setup
Now go back over to Thrive Leads and paste the code into the box that says Insert your code here.

Scroll to the bottom of this code and delete the last line of code.

Then click on the “Generate Fields” button.

Give the field a label and change the validation to Email.

After that, click the “Save” button.

Then click “Save Changes” at the top-right.

Congratulations, you’ve now setup your web tracking with Thrive Leads! Now it’s time to setup a few reports in Graphly. If you like this integration, let us know by giving us a review on the Infusionsoft store!


