Tracking your website traffic is an important step to seeing what is and isn’t working on your site. Because of this, Graphly has some helpful tools to let you see good data from your websites. This article covers the Graphly Web Tracker settings along with the process of creating an account.
Creating a Web Tracker Account in Graphly
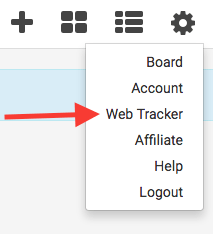
To begin, click on the “gear” icon on your Graphly dashboard and follow the list down to Web Tracker.
On the next page, click the blue “+” button under the Accounts section.

Name your account and check the box to “Automatically set the lead source on contacts“.
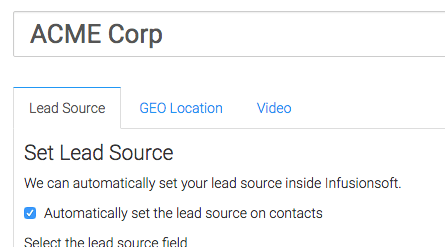
Select where you want your lead sources stored and also set the Lead Source Rules.

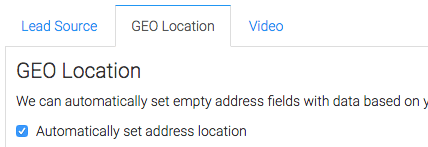
Now navigate to the GEO Location tab. If you want to set empty address fields with data based on the contacts IP address, check the box here.
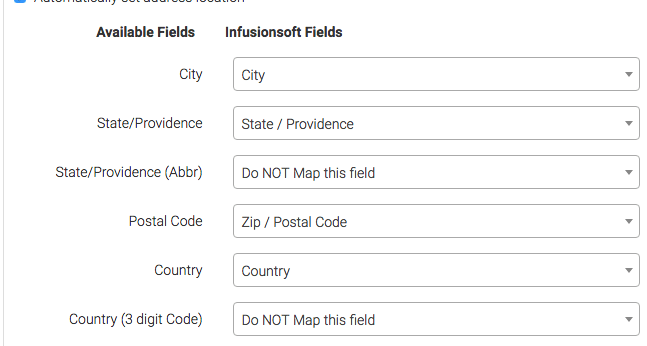
Go ahead and fill in the appropriate Infusionsoft fields on the right.
When you’re done with that click on the “create web tracking account” button at the bottom.

Getting the Web Tracker Script
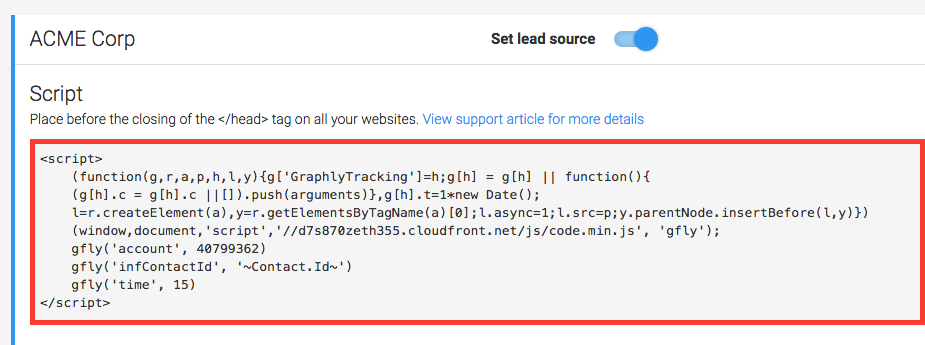
The next step is to copy the tracking code and paste it into your site. You can find the script by hovering your new account and clicking on the View Script icon.

Highlight and copy this script. You will need to paste it between the head tags of your website. You may need to search for other videos and articles to see how this is done for different platforms.
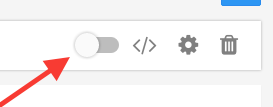
If for any reason you need to deactivate an account, hover over it and click on the the “toggle” button to deactivate it.
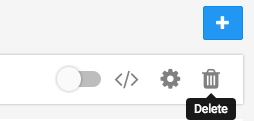
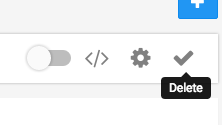
If you need to delete an account hover over it and click on the “trash can“, then click on the “check mark“.
You also have the option to activate or deactivate the setting of the lead source or geo location. You can do this with their respective toggles.

Now that you’re all set, go ahead and set up a few tracking reports such as Visits, Web Tracker Events, and Pages Per Visit!


