Graphly’s Web Tracking Setup
This article will cover integrating Graphly’s Web Tracking integration with Infusionsoft Web Form.
There are two methods we will be covering, and we’ll be starting with the recommended approach.
Step 1: General Setup for Graphly Web Tracking
In Infusionsoft’s campaign builder, drag and drop a goal onto the canvas. It’s the icon that looks like a trophy. Once you’ve placed it, double click on it. Here you can name it anything you would like to, but also make sure the dropdown says “Submits a Web Form”.
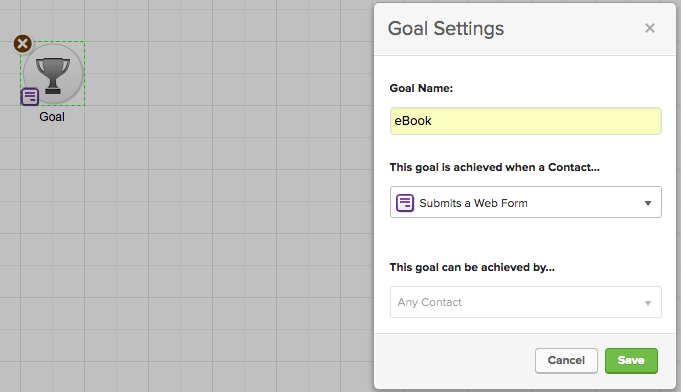
Click “Save” on the goal’s menu, and then double click on the web form icon to edit the form’s settings. Follow the steps you normally would by including fields, snippets, and styles of your choosing.
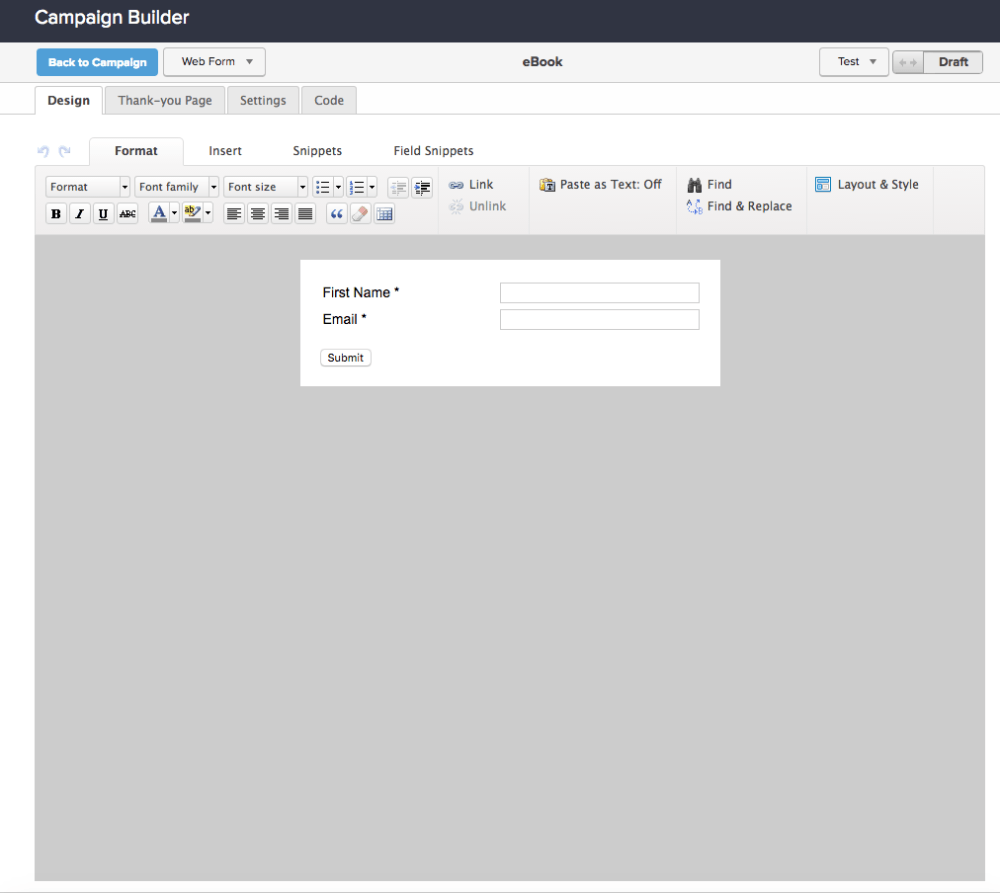
After you’ve configured and styled your webform, click on the “Thank-you” Page tab at the top and change the dropdown menu to Web address. The dropdown you’re looking for is the first one on the new tab.

Here you will need to enter your thank-you page url and check the “Pass contact’s information to the thank-you page” box.
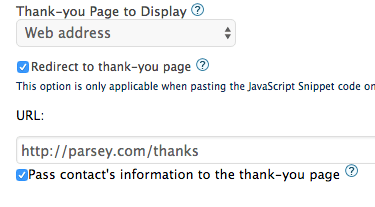
Since this is the recommended approach, uncheck the Redirect to thank-you page box. This is located directly underneath the first dropdown.

Step 2: Recommended Approach for Web Tracker Setup
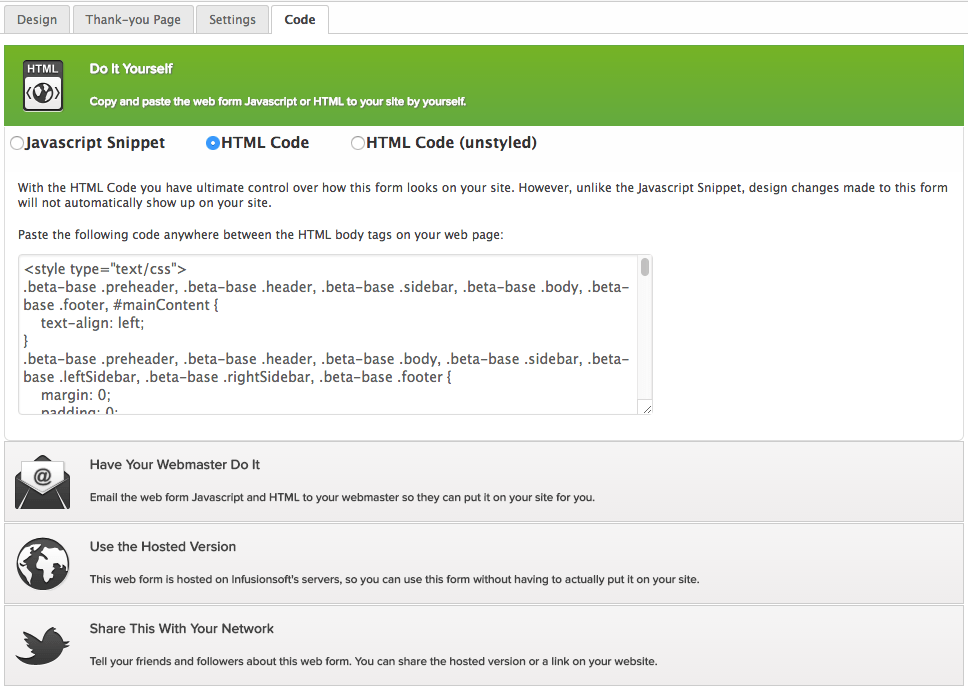
Once you’ve got that setup, go to the code tab. Here you will see three options; Javascript Snippet, HTML Code, and HTML Code (unstyled). You will want to choose either the second or the third. I’ll select the second in this example. Because you already have the tracking script pasted on your website, there’s nothing more to do in Infusionsoft.
Step 2: Method 2 for Graphly Web Tracker Setup (Not Recommended)
However, if you are dead set on using the Javascript snippet, that brings us to approach number two. Return to the design tab and click on the “Snippets” tab.
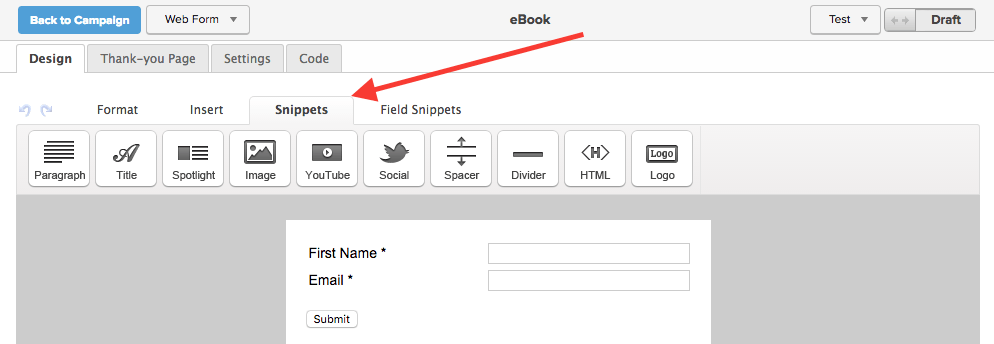
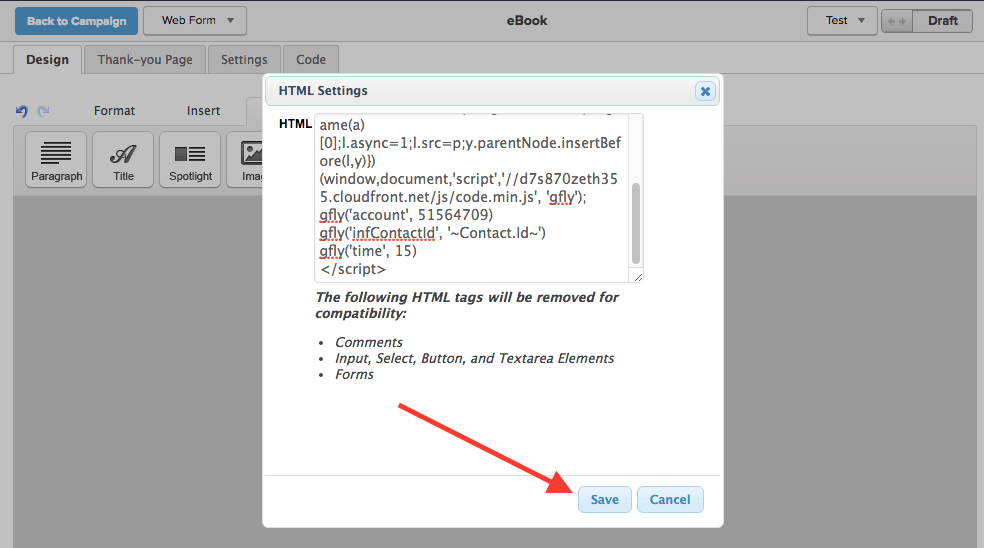
Grab an HTML snippet and drag it to the top of the form. Paste the web tracking script from your Graphly account and click “Save“.
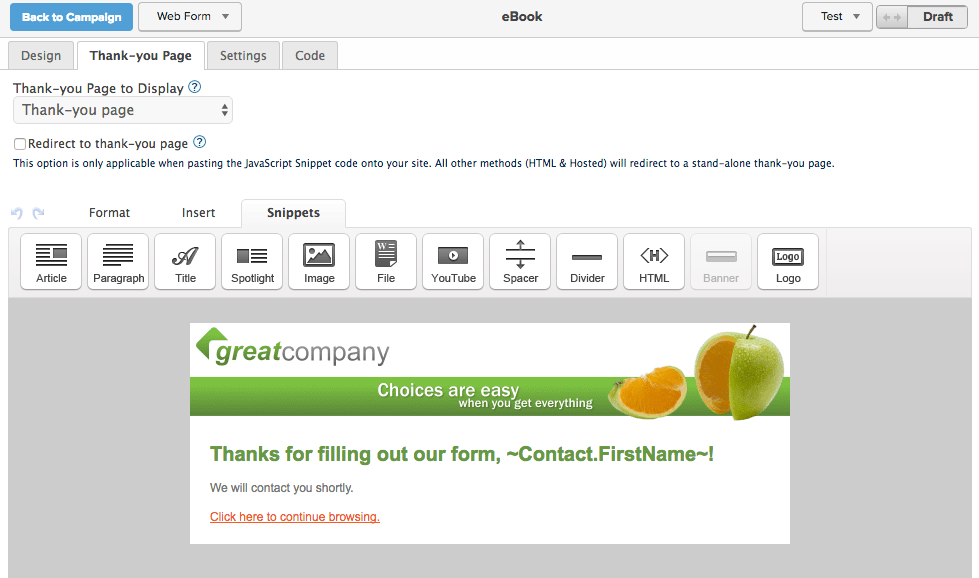
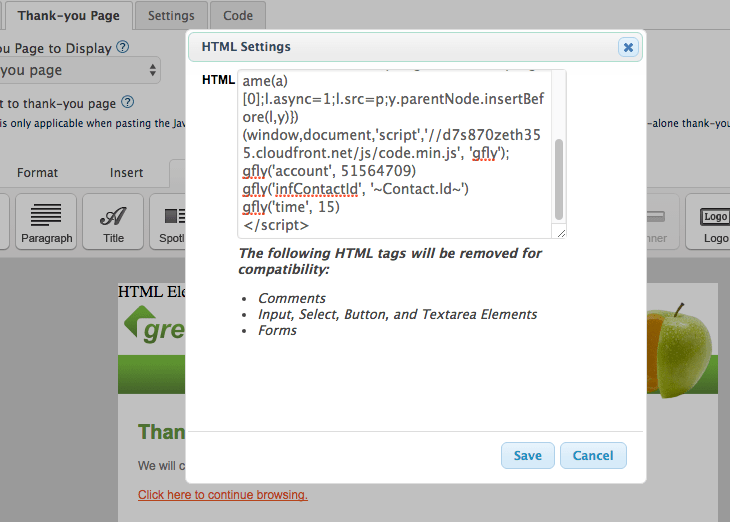
Then click on the “Thank-you” Page tab and again drag the HTML snippet to the top of the page and paste the script.
Step 3: Save and Publish
Click “Save” and make sure to toggle your form Draft to Ready.

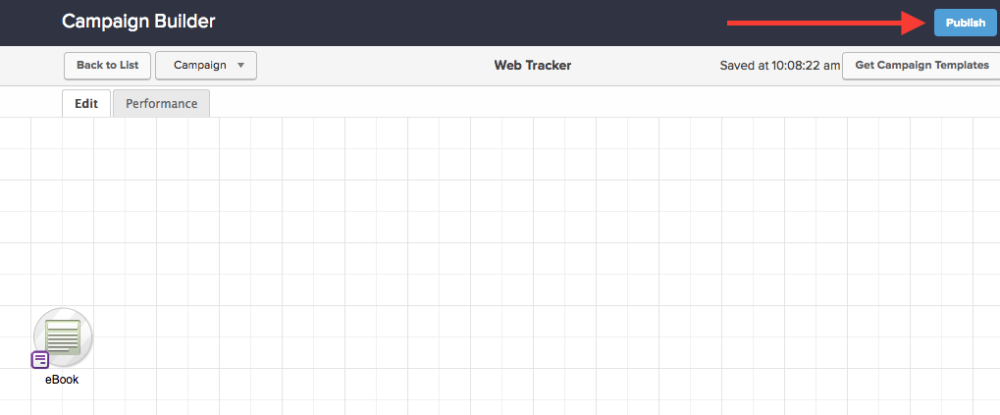
Go back to the campaign and publish the changes.
Now that you’ve setup your Web Tracking integration with Infusionsoft Webforms, try out some of our Web Tracking reports!


