
The Tag Funnel template displays the number of contacts in a list of tags and displays them over a given date range.
Search for the Template
To begin, click the “+” icon on your Dashboard and type tag funnel into the search bar. Then select the Tag Funnel template.
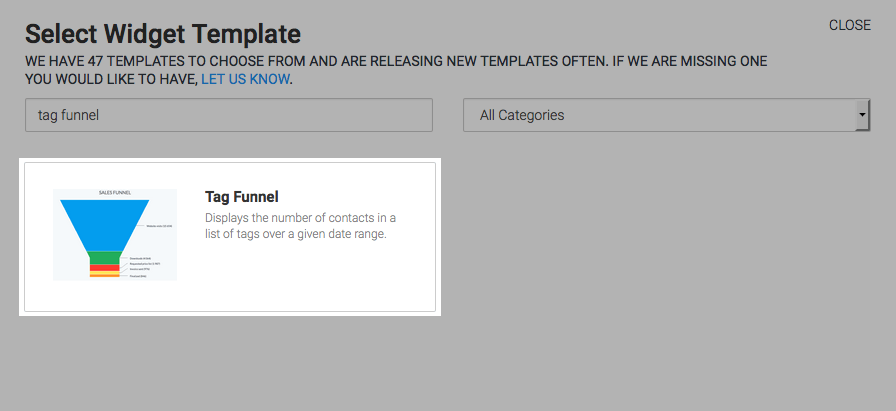
Chart Tab
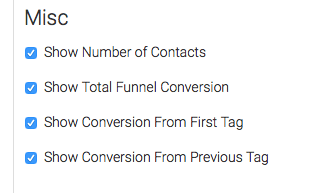
Miscellaneous
Under Misc Options there are multiple data points that you can include in the chart. I’ll check all of them.
- Show Number of Contacts: This displays the total number of contacts in the funnel in the top right-hand corner of the graph.
- Show Total Funnel Conversion: This shows the total conversion in the funnel from the first tag to the last tag.
- Show Conversion From First Tag: This shows the conversion of a given tag from the first tag in the funnel.
- Show Conversion From Previous Tag: This shows the conversion of a given tag from the tag before it.
Options Tab
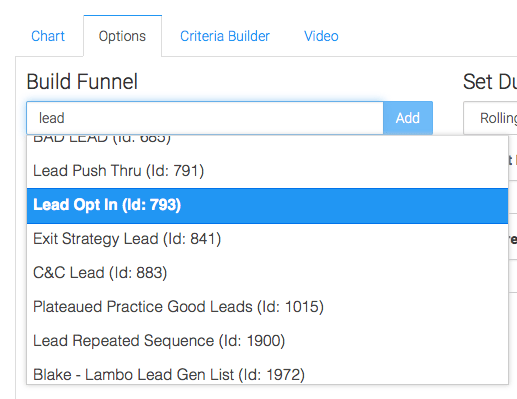
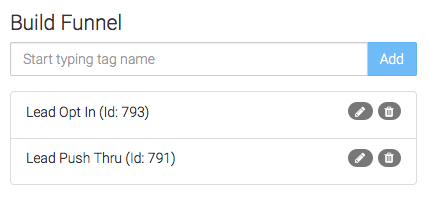
Select Tags
Navigate to the Options tab. Begin adding tags as they occur in your funnel.
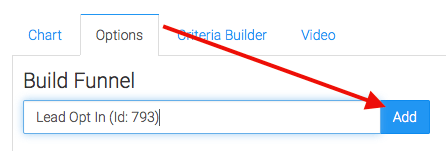
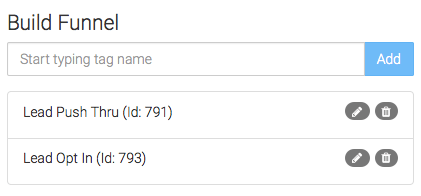
If necessary, you can drag and drop the tags in a different order.
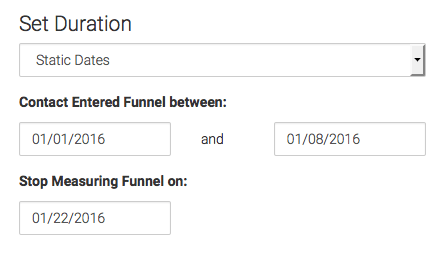
Duration (Date Range)
Now set your Duration. I’m going to choose Static Dates and set the dates the contact entered the funnel between January 1st and January 8th of 2016. I will set the funnel to stop measuring on January 22nd to give my contacts plenty of time to progress through the funnel.
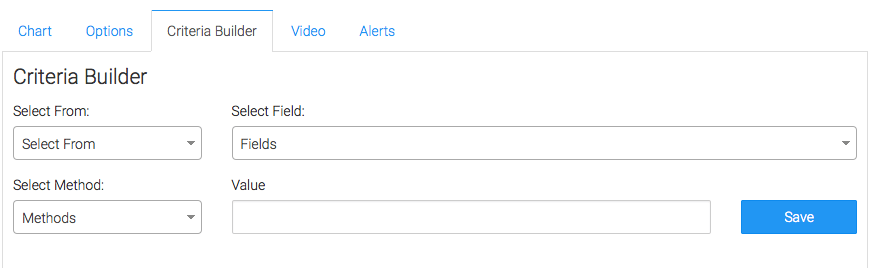
Criteria Builder Tab
For ultimate control and customization, use the Criteria Builder to include additional rules and requirements to the report.
Once you have your everything set, click Save Preferences on This Widget.
Relevant Articles
- How to Configure the Compare Tags Report
- How to Set Up the Grouped Tags Funnel Report
- Setting Up Email Reporting in Infusionsoft’s Campaign Builder
Don’t have Graphly yet? Sign up now to start gaining valuable insight into your Infusionsoft Data!