
This article will cover the process of exporting a CSV file containing the data within a report. Please be aware that currently there is a 75,000 row limit to the export.
Step 1: Generate the CSV Export
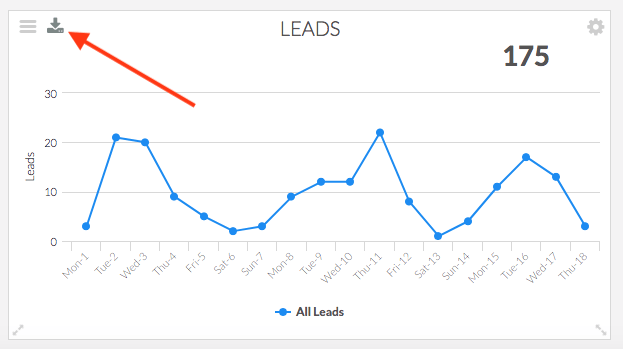
To begin, hover over a report and click the “Export to CSV” button.
Step 2: Wait Patiently
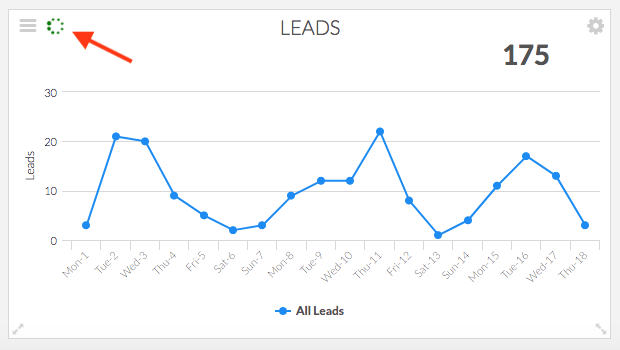
A message will appear in the bottom right, indicating that the CSV generation process has begun. While the CSV is being generated, there will be a spinning green icon in the corner of the report that replaces the Export to CSV button. This process can take several minutes, depending on the amount of data being exported.

Step 3: Download that Bad Boy
Once the generation is complete, you will get a message that says your export is ready to be downloaded, and there will be a new ‘Download’ button on the report.

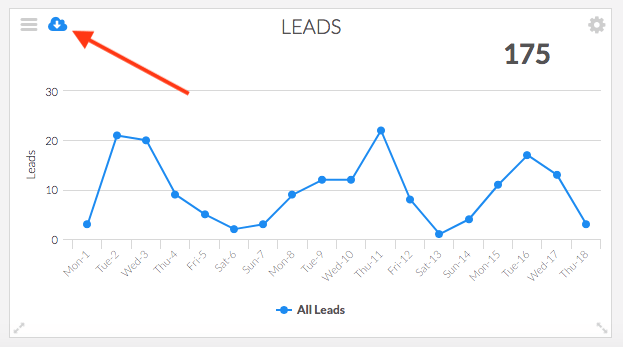
Once you click the download button. The CSV will begin to download to your Downloads folder.

Relevant Articles
- How to add a Custom Text Area Widget to your Dashboard
- How to Download an Image of a Report
- How to view Graphly inside your Infusionsoft account
If you don’t already have a Graphly account, you can sign up for free here to get powerful Infusionsoft reporting.